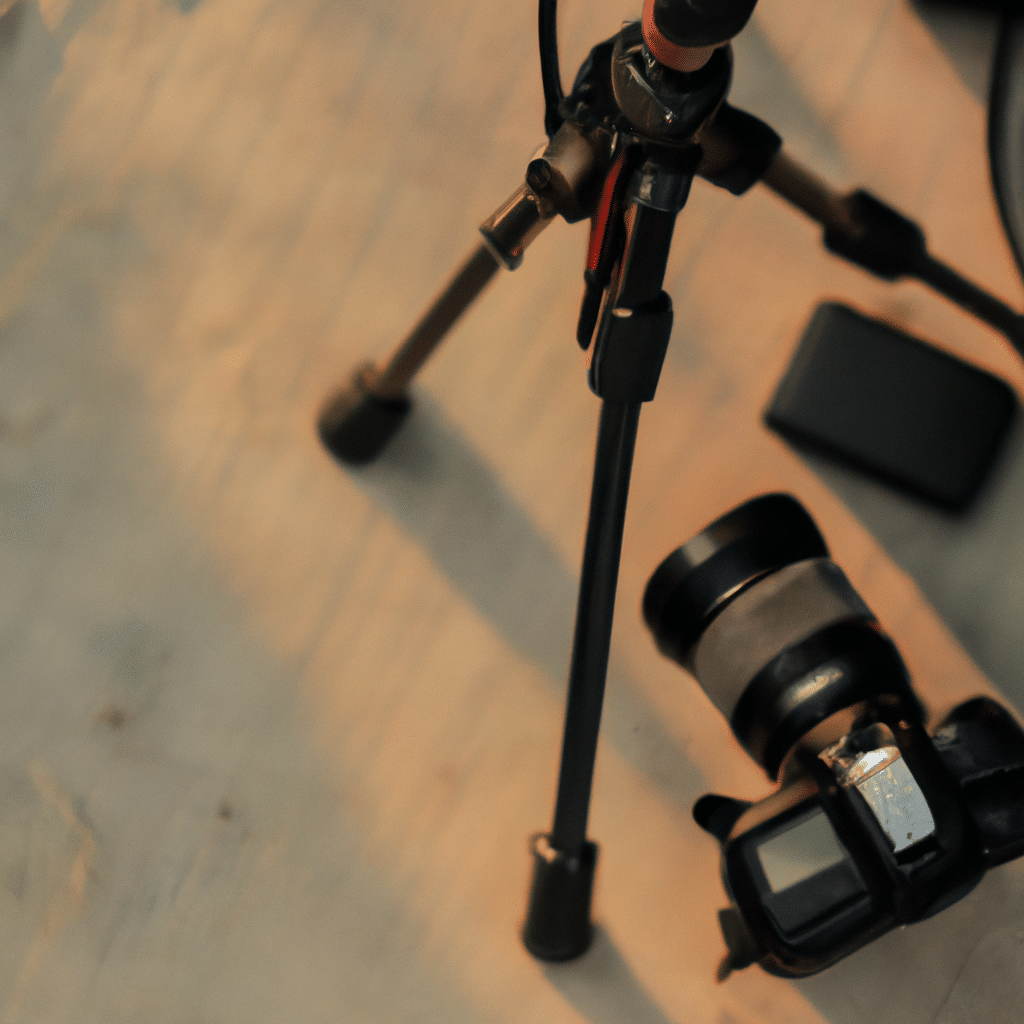
Are you tired of using your tripod in the same old conventional way? Do you want to take your photography skills to the next level? Look no further! In this article, we will explore the exciting world of DIY tripod hacks and modifications that will unlock the true potential of your camera setup.
Tripods are an essential tool for any photographer or videographer. They provide stability and allow for precise composition, resulting in sharper images and smoother videos. However, many photographers feel limited by the standard features of their tripods. That’s where DIY hacks and modifications come in.
By making simple adjustments and additions to your tripod, you can enhance its functionality and adapt it to various shooting scenarios. Whether you’re a professional photographer or an enthusiastic hobbyist, these hacks will revolutionize the way you use your tripod.
In this comprehensive guide, we will cover a wide range of tripod hacks and modifications. From adding extra attachments to improving stability in challenging conditions, we’ve got you covered. Get ready to unleash your creativity and take your photography to new heights!
But before we dive into the world of DIY tripod hacks, let’s take a moment to understand why tripods are such an important tool for photographers and videographers.
The Importance of Tripods in Photography
Tripods play a crucial role in photography by providing stability and eliminating camera shake. When shooting in low light conditions or using slower shutter speeds, even the tiniest movement can result in blurry images. A tripod ensures that your camera remains steady, allowing you to capture sharp and detailed photographs.
Additionally, tripods allow for precise composition. By adjusting the height, angle, and position of your camera, you have complete control over the framing of your shot. This is especially useful in landscape photography, architectural photography, and product photography where precise composition is essential.
Furthermore, tripods enable long exposure photography. When capturing images in low light or when you want to create motion blur effects, using a tripod is essential. It allows you to keep the camera perfectly still for an extended period, resulting in stunning long exposure shots.
Now that we understand the importance of tripods, let’s explore some DIY hacks and modifications that can enhance their functionality and versatility.
1. Alternative Tripod Materials
Most tripods are made of aluminum or carbon fiber, but there are alternative materials that you can use to create your own tripod. For example, you can repurpose a sturdy wooden pole or even use PVC pipes to construct a DIY tripod. These alternative materials can be cost-effective and offer unique customization options.
2. DIY Tripod Legs
If you’re looking to add stability to your existing tripod, you can consider DIY tripod legs. One popular option is to attach small sandbags or weights to the legs of your tripod. This will provide extra stability, especially in windy conditions or on uneven terrain.
3. Center Column Extension
Many tripods come with a center column that can be extended to increase the height of the camera. However, these extensions can sometimes be limited. To overcome this limitation, you can create your own center column extension using a sturdy rod or even a monopod. This will allow you to achieve greater height and capture unique perspectives.
4. DIY Tripod Head
The tripod head is the part that holds your camera and allows for adjustments. While there are various types of tripod heads available in the market, you can also create your own DIY tripod head. For example, you can use a ball head from an old tripod or even repurpose a sturdy ball joint from other equipment.
5. Custom Attachments
One of the advantages of DIY tripod hacks is the ability to create custom attachments. Depending on your specific needs, you can add attachments such as smartphone holders, LED lights, or even small shelves to hold accessories. These attachments can greatly enhance the versatility of your tripod and make it suitable for a wide range of shooting scenarios.
Now that we’ve covered some DIY tripod hacks and modifications, let’s move on to the next set of creative ideas that will take your tripod game to the next level.
Creative Tripod Accessories and Modifications
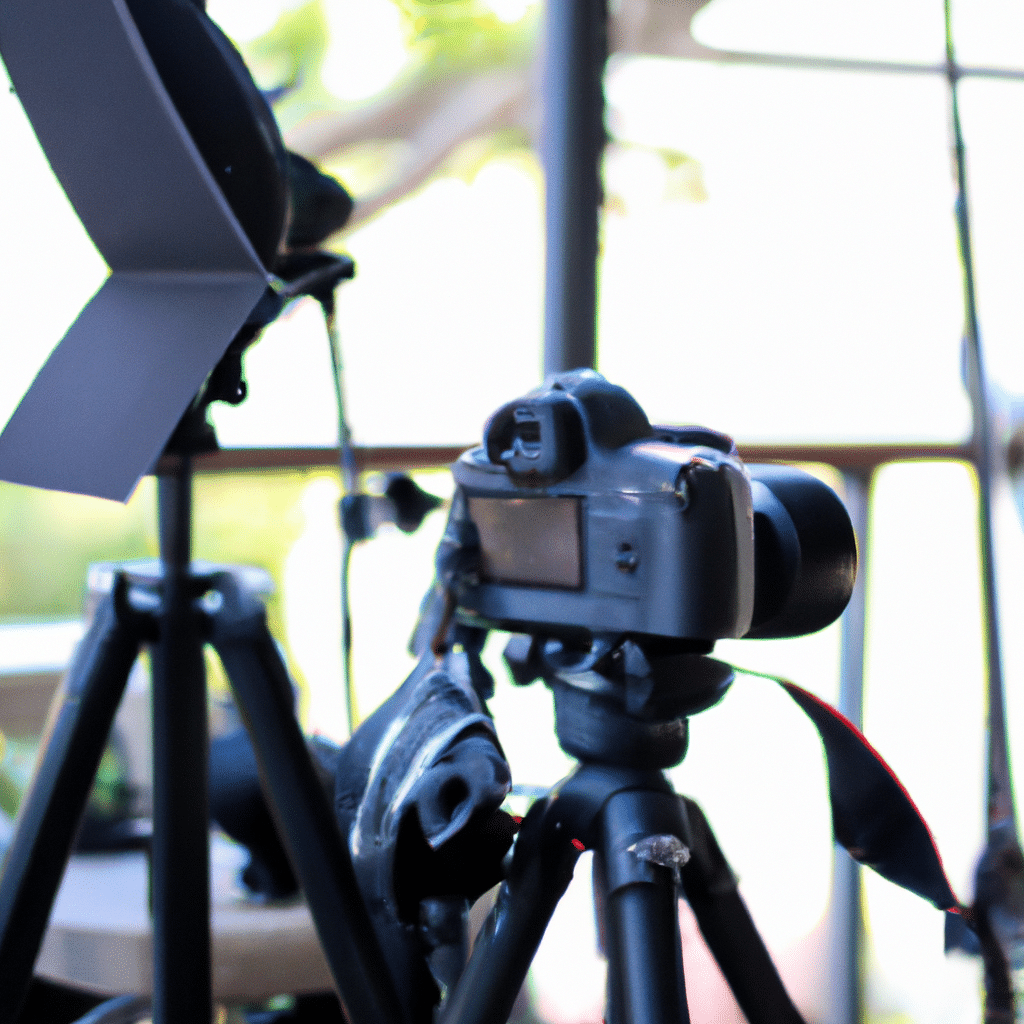
In addition to the DIY hacks mentioned earlier, there are several creative accessories and modifications that can further enhance the functionality of your tripod. These accessories are designed to cater to specific shooting scenarios and provide additional convenience and versatility.
1. Multi-Angle Center Columns
A multi-angle center column is a great accessory for photographers who frequently shoot at low angles or need to capture overhead shots. This type of center column allows you to adjust the angle of your camera independently from the tripod legs, giving you more flexibility in positioning your camera.
2. L-brackets
L-brackets are specially designed brackets that allow you to switch between landscape and portrait orientations quickly. By attaching an L-bracket to your camera, you can easily rotate it without having to readjust the tripod head. This is particularly useful for photographers who frequently switch between different orientations.
3. Tripod Dolly
A tripod dolly is a wheeled accessory that allows you to move your tripod smoothly and effortlessly. It is especially handy for videographers who need to capture tracking shots or photographers who want to easily reposition their tripod without having to lift it. Some tripod dollies even come with brakes to ensure stability during shooting.
4. Remote Shutter Release
A remote shutter release is a must-have accessory for long exposure photography or when using a tripod in situations where you want to avoid camera shake. By using a remote shutter release, you can trigger the camera without physically touching it, resulting in sharper images. There are various types of remote shutter releases available, including wired and wireless options.
5. Tripod Stabilization Accessories
If you frequently shoot in windy conditions or on unstable surfaces, tripod stabilization accessories can be a game-changer. These accessories, such as sandbags or tripod stabilizer arms, help to anchor your tripod and prevent it from tipping over. They provide an extra level of stability, ensuring that your camera remains secure even in challenging shooting environments.
Now that we’ve explored some creative tripod accessories and modifications, let’s move on to the final part of our guide where we will discuss some safety tips and considerations when using DIY tripod hacks.
Safety Tips and Considerations for DIY Tripod Hacks
While DIY tripod hacks and modifications can be exciting and offer a range of creative possibilities, it’s important to keep safety in mind. Here are some essential safety tips and considerations to ensure that your DIY tripod modifications are both effective and safe.
1. Stability and Weight Capacity
When making modifications to your tripod, it’s crucial to maintain its stability and weight capacity. Adding too much weight or altering the balance of the tripod can compromise its stability, leading to potential accidents. Always check the weight capacity of your tripod and ensure that any modifications you make do not exceed its limits.
2. Secure Attachments
When attaching accessories or making modifications, ensure that they are securely fastened to the tripod. Loose attachments can cause your camera to fall or become unstable during use. Regularly inspect the attachments and tighten them if necessary.
3. Balance and Leveling
Properly balance and level your camera on the modified tripod. Imbalanced or unevenly leveled setups can put stress on the tripod and increase the risk of it toppling over. Use a bubble level or the built-in leveling features of your tripod to ensure a stable and level setup.
4. Weather Conditions
Consider the weather conditions when using DIY tripod hacks. Windy conditions can make your setup more susceptible to vibrations and instability. If you’re shooting in windy environments, use additional stabilization accessories or find sheltered areas to minimize the impact of wind.
5. Use Common Sense
Always use common sense when using DIY tripod modifications. Avoid placing your tripod in precarious positions or on unstable surfaces. Be mindful of your surroundings and potential hazards that could affect the stability of your setup.
By following these safety tips and considerations, you can enjoy the benefits of DIY tripod hacks while ensuring a safe and secure shooting experience.
Now that we’ve covered the various DIY tripod hacks, modifications, creative accessories, and safety considerations, it’s time for you to unleash your creativity and explore the endless possibilities of enhancing your tripod setup. Remember, the key is to experiment, have fun, and push the boundaries of what your tripod can do.
In conclusion, DIY tripod hacks and modifications can transform your photography experience by unlocking the true potential of your tripod. From alternative materials to custom attachments, there are countless ways to enhance the functionality and versatility of your tripod. However, it’s important to prioritize safety and consider the limitations of your tripod when making modifications. With the right balance of creativity and caution, you can take your photography to new heights with DIY tripod hacks.
If you found this article helpful, be sure to check out related topics such as camera accessories, photography techniques, and gear reviews. Keep exploring and never stop learning on your photography journey.
And now, it’s time for a rhetorical question: Can you imagine the incredible shots you’ll capture once you unlock the full potential of your DIY-modified tripod?
In conclusion, DIY tripod hacks and modifications offer a world of possibilities for photographers and videographers. By thinking outside the box and exploring creative solutions, you can unlock the true potential of your tripod and take your photography to new heights.
Throughout this article, we have discussed various DIY tripod hacks and modifications, ranging from alternative materials to custom attachments. We have explored how these hacks can enhance stability, improve versatility, and provide unique shooting opportunities. Whether you’re a professional photographer or an enthusiastic hobbyist, there is something for everyone to experiment with.
However, it’s important to approach DIY tripod modifications with caution and prioritize safety. Always consider the weight capacity and stability of your tripod, and ensure that any modifications you make are securely fastened. Additionally, be mindful of your surroundings and weather conditions to minimize any potential risks.
Remember, DIY tripod hacks are all about unleashing your creativity and pushing the boundaries of what your tripod can do. Don’t be afraid to think outside the box and try new ideas. You never know what amazing shots you might capture by incorporating unique modifications into your setup.
If you found this article inspiring and informative, be sure to share it with your fellow photography enthusiasts. And don’t forget to check out related topics such as camera accessories, photography techniques, and gear reviews to further enhance your photography skills.
Now, it’s time to ask yourself: What are you waiting for? Are you ready to unlock the full potential of your DIY-modified tripod and take your photography to the next level? The possibilities are endless, so grab your tools, get creative, and let your tripod become a true extension of your artistic vision.
What are you waiting for? Are you ready to unlock the full potential of your DIY-modified tripod and take your photography to the next level?
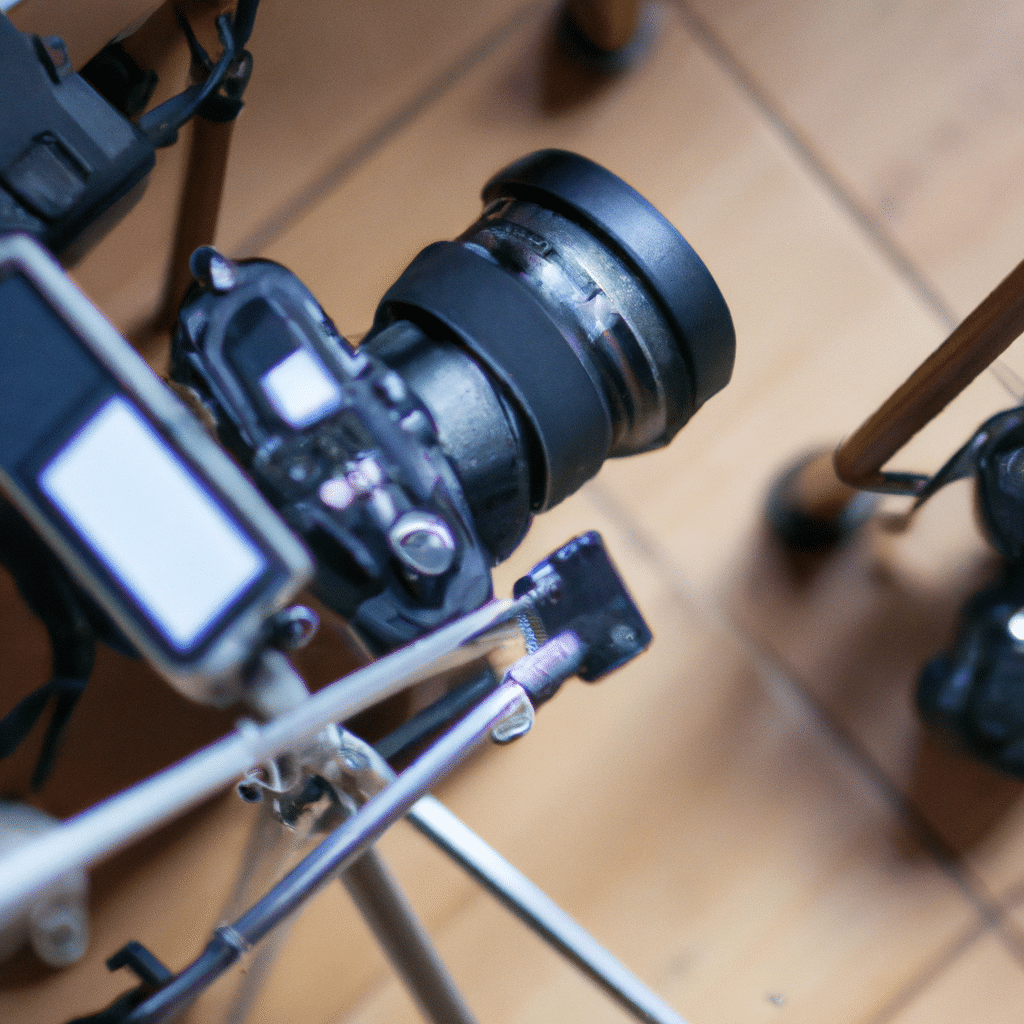
When it comes to automotive photography, capturing the perfect angle is crucial. Tripods play a significant role in achieving stability and precision in automotive photography. They allow photographers to set up their shots with utmost accuracy and eliminate any unwanted camera shake. To learn more about the importance of tripods in automotive photography, check out our article Capture the Perfect Angle: The Role of Tripods in Automotive Photography.
Street art photography has been revolutionized by the advent of mirrorless cameras. These compact and lightweight cameras offer exceptional image quality and versatility, making them a favorite among street photographers. If you’re interested in exploring the world of street art photography and the benefits of mirrorless cameras, be sure to read our article Revolutionizing Street Art Photography with Mirrorless Cameras.
